
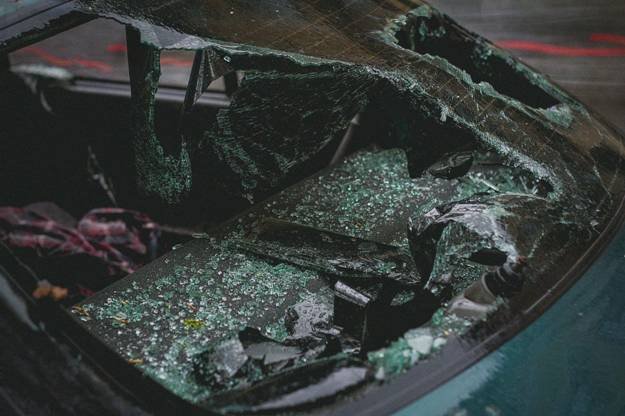
There are several hits, scrapes, and other events that might harm the windshield of your automobile. A small chip or fracture can be readily created by an unintentional hit, flying stones, or gravel. If left untreated, these little problems might develop into spider cracks along the length of your windshield.
Identify the Crack’s Size
Determine the degree of the damage before placing an order for a kit or carrying out any other repair procedures. When beginning the repair process contact https://instaglass.ca, or make sure your kit completely fits the size of the chip or crack on your car.
An epoxy repair kit may readily fix a chip less than a quarter and a fracture shorter than three inches, but a bigger chip or crack could require an entire new windshield for your automobile.
Calculate the amount of damage to your windshield and the severity of the problem. If a kit is used on damage that is bigger than what is advised, the windshield may become jeopardized.

How to Fix Cracks in the Windshield
Clear the Space
Cleaning the glass surrounding the chipped area is one of the initial stages of fixing it. Any debris or dirt in the hole or fracture has the potential to weaken the repair and cause flaws in the glass. To clean the surface, use a microfiber cloth and a tiny bit of rubbing alcohol. Click here to read more on microfiber.
Take caution, since a crack’s edges can be sharp. Make sure the entire piece of equipment is crisp. Make sure the patch is applied only when the region is totally dry.
Put the pedestal and patch on
Remove the paper backing from the patch and align it with the windshield’s damaged area. It is impossible to successfully patch a chip or crack with this specific kit if it is larger than the patch’s circle cutout.
The patch should then be placed on the outside of your windshield, centered over the damaged area. Most kits for patches come with a pedestal. An angled tube on this molded plastic item makes applying epoxy simple. After positioning the tabs, push the pedestal up against the glue.
Employ an epoxy resin
Certain resins need to be mixed, however, others are premixed or blended as you use them. Using the syringe, fully compress the liquid resin (https://www.sciencedirect.com/topics/engineering/resin-material) into the pedestal after adding it to it. Hold the pedestal firmly while you bring the plunger back up once the syringe has been fully squeezed.
The epoxy within the pedestal won’t be drawn again into the syringe if it is mixed properly. Without taking the syringe off the pedestal, fully raise it. Certain kits come with a little clip to stop this from occurring. In some kits, you have to keep an eye on where the syringe is. Keep the syringe from pulling out all the way, or you won’t be able to produce the required vacuum.
A vacuum is created in the syringe by pulling up the plunger. There is not enough vacuum to help raise the epoxy resin; nevertheless, it may also promote air bubbles to come out of the fractured region.

Hold off until the air bubbles disappear.
Keep an eye out for any indications of air bubbles popping and wait for the duration that the kit recommends. This might take a minute or ten. Until air bubbles stop developing and being sucked out of the resin, do not remove the syringe. This process of fixing windshield chipping may seem the longest, depending on the quantity of air bubbles left in the glass.
Take out the pedestal and syringe.
Once every air bubble has left the region, drive the remaining glue into the crack by pressing down on the syringe plunger once more. The syringe could only come halfway down the pedestal before its termination. Press the syringe again and give the window a little knuckle-rap. This time, it should move no more than half an inch, so don’t push it.
The syringe, patch, and pedestal should be gently removed when the necessary time has elapsed and the epoxy substance has solidified. To make sure there isn’t a dent or dimple from the application, you might need to apply one more drop on top of the crack.
Eliminate Extra Epoxy
Using your razor blade, scrape off any resin that remains. Take care to prevent fingerprints and windshield damage. You ought to have a perfect windshield once you gently scrape off the residual glue and curing strip.